
Why Do I Need a Professional for Plumbing Work
Getting a plumbing service is something that no one ever expects to need at some point. Even though plumbing is an essential component of our homes and workplaces, we rarely pay attention to it unless it becomes necessary. The problem is that when something unexpected happens, we don’t have a plan in place for what to do in an emergency.
Unfortunately, we are then faced with a costly problem that must be resolved, and we are unsure where we will obtain the funds to pay for it. In the end, we all underestimate the importance of local plumbing services until we desperately need their assistance.To save money, many people will turn to unregistered or unqualified plumbers in an emergency if they have a plumbing problem. Even though using such services can frequently expose one to additional problems, some people cannot resist the allure of saving money. Moreover, if you’re dissatisfied with the work performed by an unregistered plumber, you’ll be at a loss for what to do to correct the situation.
This is where many people get burned, and they end up having to pay for additional local plumbing services in Chantilly from a real, licensed, and bonded plumber in their area. Any money that may have been saved in the first place has now been thrown out the window along with the rest of the capital.
Even though you can’t always predict when a plumbing emergency will occur, you mustn’t simply hire the cheapest plumbing service that you come across. The process of finding a suitably qualified professional to fix your plumbing problems may be stressful and time-consuming, but it is necessary. So, how do you go about finding a licensed plumber in Chantilly? Of course, the most straightforward method is to make use of the technology you already have at your disposal and conduct a quick search on the internet.
If you want someone who you know will complete the job to your complete satisfaction, another option is to ask family and friends for recommendations on the best plumbing service that Chantilly has to offer. They’ll be able to provide you with recommendations based on their previous experiences.
When looking for a new plumber, you should have a list of questions prepared to ask them before hiring them. Using this information, you can decide which plumber you want to hire. First and foremost, you should inquire whether the plumber will charge you for the time it takes to come to your home and assess the situation.
Once you’ve completed this step, you must meet with him or her to determine their legitimacy. Inquire as to whether the plumber can provide you with all their relevant documentation, as well as references from previous jobs. By taking your time to complete these tasks, you can rest assured that you will receive the best service that a plumber has to provide.
Methods for Obtaining the Best Local Plumbing Services
It only takes one bad experience with a plumbing contractor to convince you that you should avoid them at all costs. Unfortunately, the high demand for plumbing repairs can quickly make you forget about the disaster that the previous company left you in when the work is completed. It doesn’t matter if it’s an obstructed drainpipe, a broken pipeline, or a broken boiler; finding an inexperienced local plumber can make a terrible situation much worse.
A clogged drain is one of the most common plumbing problems that homeowners encounter. The mess may be complicated to wash, but that is not the most challenging problem. If this backup is important, you may experience significant water damage. A large number of people attempt to resolve their plumbing issues on their own.
Unluckily, this may exacerbate the situation and result in a higher repair bill overall. The most effective option is to hire a highly skilled and qualified plumber to complete the job correctly.
Unexpected emergencies are not the only instances in which you may require the services of a professional plumber in your area. A qualified professional’s expertise is also needed when installing a new washroom or kitchen component, replacing old pipes, or installing a new boiler and central furnace.
It is also recommended that combi-boilers and major heating systems undergo routine maintenance inspections on a regular basis. Besides lowering the likelihood of many issues occurring in colder weather, this may also help improve your system’s overall performance by reducing the possibility that they will appear.
Most plumbers recommend scheduling this type of service call during the summer months, well in advance of when you will need to turn on your boiler.

You’ll want to make sure that the local plumbers are licensed in their field of expertise – whether it’s general plumbing or gas equipment installation. Taking the time to double-check that the provider is listed on the certification or licensing directory for your country or state is well worth your time! Choosing someone from one of the online classified websites may seem like a good idea, but keep in mind that this person will be living in your home. All employees working in your home should have a good reputation and be well-trained and professional.
Don’t put it off for too long before getting it fixed when you have a plumbing problem. A drain may be slow for a couple of weeks. You might want to put off the purchase because you don’t want to incur the expense. When a drainpipe backs up into your house, it could end up costing you hundreds of dollars more to have it repaired. There is a plethora of excellent local plumbers to choose from. The key is to figure out who you can rely on and who you cannot.

How to Make Your Bathroom Feel Luxurious
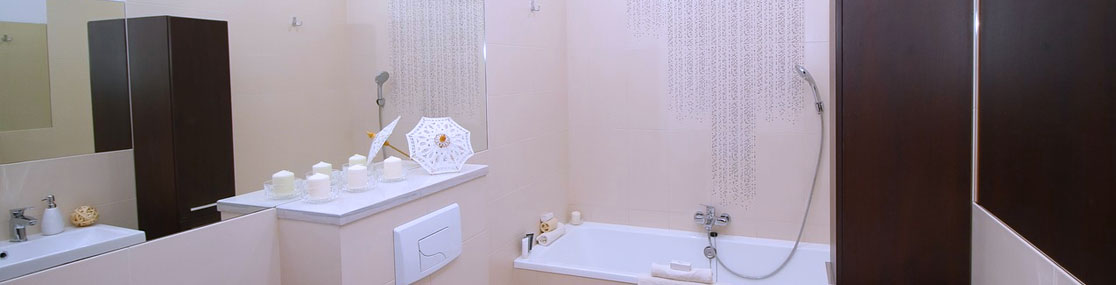
A home’s bathroom should be a luxury zone. While a bathroom may seem strictly utilitarian on its face, the reality is that bathrooms are where homeowners go to relax, unwind and shake off the day. Bathrooms also set the tone for the day by providing a setting for getting showered and prepped! It’s no wonder why more and more people are seeking to add touches of luxury to their bathrooms.
Bathrooms don’t just make life more satisfying. According to Zillow, a bathroom remodel yields the biggest return in terms of boosting your home’s resale value! Yes, renovating what is often the smallest room in a home actually delivers the biggest value boost! It works out to a value increase of $1.71 for every dollar spent on a bathroom update. It’s hard to deny that a bathroom renovation is a win-win decision. However, knowing how to choose updates that really bring the luxury is a whole different game. When planning a bathroom remodel, it’s so important to marry function with style in a way that makes everything flow. Take a look at 11 ways to add luxury to a bathroom!
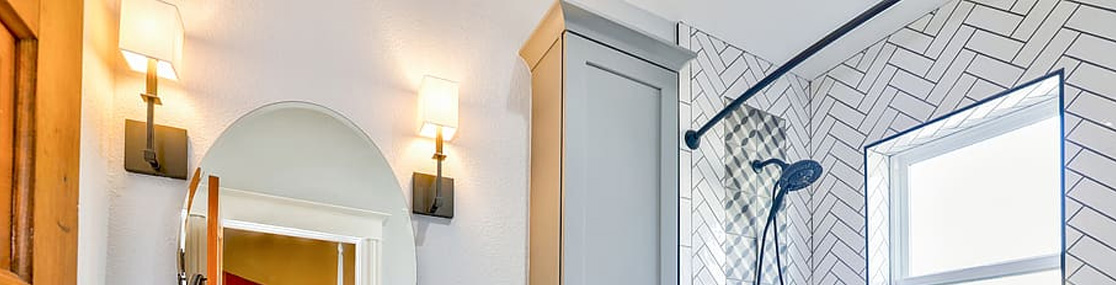
1. Add a Tiled Shower
Tired of staring at a dull fiberglass or acrylic shower? It’s hard not to get excited by those “dream showers” full of large tiles peppered with rich mosaics. Here’s a look at the best tiles to add to shower walls:
- Ceramic
- Porcelain
- Glass
- Marble
- Natural Stone
There are two ways to approach this update. The first is to tile an existing walk-in shower that has all of the right “bones” even though it’s bland. The second is to install a new walk-in shower with beautiful touches like a glass door and waterfall shower head!
2. Install a Double Vanity
According to experts, a home’s en-suite bathroom is almost as important to buyers as the home’s kitchen. When reimagining an en-suite bathroom, the trick for instant luxury is to swap a one-sink vanity for a two-sink vanity! This update ensures that there’s never any fighting over the sink! Deep sinks cut into marble or granite counters drastically boost a bathroom’s luxury rating!
3. Add Recessed Lighting
While most people rely on fixtures for bathroom lighting, a luxury-creating option like recessed lighting is tragically overlooked. The perk of adding recessed lighting in a bathroom is that it ensures light reaches every corner. That’s a plus when grooming! In addition, the way overhead light bounces off a bathroom’s beautiful tiles makes the space seem huge!
4. Hang an Oversized Mirror
Once a new vanity has been added, the way to really give it some oomph is to hang an oversized mirror! A larger mirror accentuates the size of the vanity. It also makes the entire bathroom look bigger. As a bonus, guests love being able to check themselves out in a mirror after ducking into the bathroom!
5. Add a Towel Warmer
Luxury is in the little details! A heated towel rack ensures that a fluffy, inviting towel is always waiting on the other side of a hot shower. A high-end heated towel rack is a safe, reliable addition to a bathroom that’s integrated into a home’s main heating system. These towel warmers are also very energy efficient.
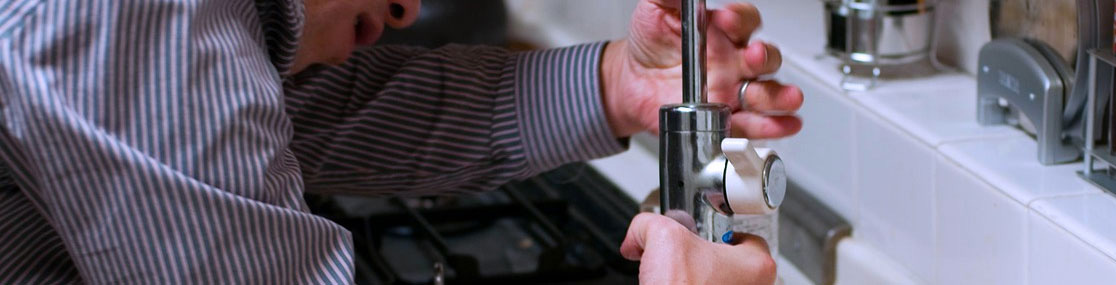
6. Install a Bidet
Anyone who has ever visited a high-end hotel or luxury resort knows that bidets are signs of prestige. What many people don’t realize is that it’s fairly easy to have a bidet installed in any bathroom. In fact, a renovation that involves reimagining the layout of a bathroom presents the perfect opportunity to install a bidet because this project can be done when plumbing is being retrofitted for the new layout.
7. Get Futuristic With a Floating Vanity
Floating vanities are pretty much the only vanities that high-end builders are installing these days. Designed to be fixed to the wall without the use of supportive legs, floating vanities are incredibly sleek. While it may be tempting to think that the value of a floating vanity is purely aesthetic, the reality is that this design makes cleaning a bathroom incredibly easy because there’s no worry about grime and moisture being trapped under the vanity!
8. Install a Frameless Glass Shower
No, those frameless showers that are all over Instagram and Pinterest aren’t optical illusions! A frameless glass shower lacks the lip or edge of traditional walk-in showers. The step from bathroom floor to shower is completely seamless! However, an airtight door prevents moisture seepage! Ideal for anyone who has difficulty stepping into a traditional shower or tub, these showers often have built-in seating!
9. Add a Steam Shower
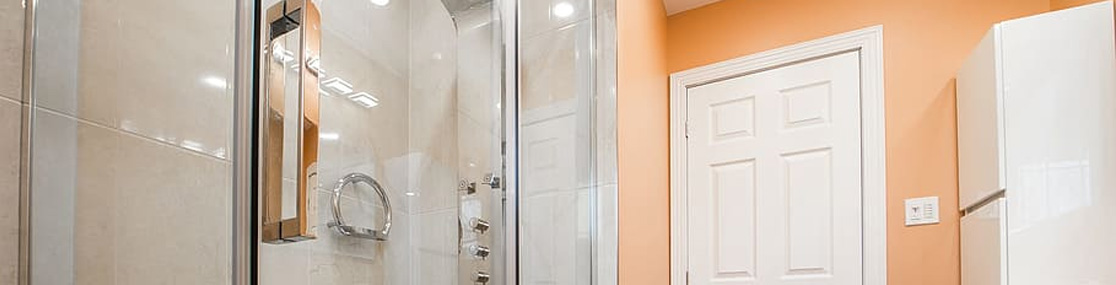
The days of needing the budget to build a separate room for a personal sauna are over! Steam showers allow people to enjoy relaxing steam sessions using built-in steam generators accompanied by vapor barriers. The best part is that electrical heating elements work with a home’s existing water system to deliver steam!
10. Design a Mosaic Rug
Why just add new tile floors when a bathroom floor can be a work of art? People looking to create custom, high-end bathrooms are installing tile rugs. Tile rugs are simply mosaics done to look like square mats. They can be placed in the center of a bathroom, in front of a shower, in front of a toilet or in front of a vanity to add a very rich accent!
11. Add a Heated Floor
This might just be the most luxurious touch possible for a bathroom! While most people assume that bathrooms with heated floors have special heated tiles, the truth is that ordinary ceramic and stone tiles are used in conjunction with a heating system that’s placed under the floor. It’s actually a radiant heat source creating those warm, soothing tiles that feel like heaven against the pads of the feet on a chilly morning.
Creating a Bathroom Fit for Royalty
Everybody deserves a bathroom that pampers. If you’re looking for bath remodeling services Chantilly homeowners can use to create show-stopping bathrooms, these 11 luxury touches are just the beginning. Book your consultation to discuss how to add luxury and value to a bathroom!

What Are Bathroom Fans and How to Install a Bathroom Fan Guide?
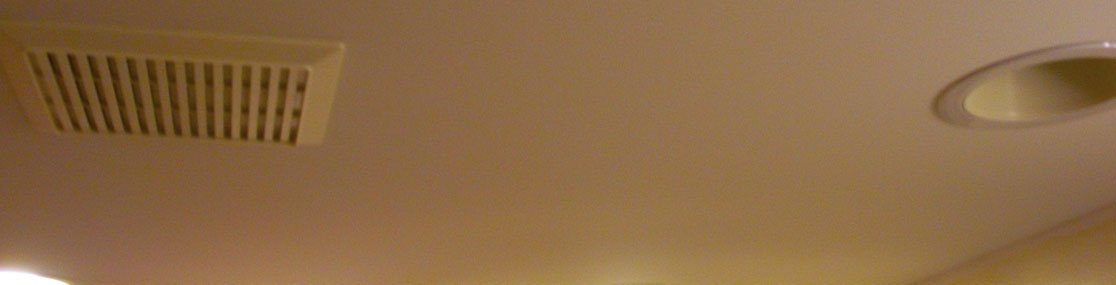
What Are Bathroom Fans?
The basic role of a bathroom exhaust fan is to remove moisture from the bathroom. It is not a pretty sight to watch water rivulets running down your walls after having a relaxing shower. It puts a bit of a damper on your day, not to mention the damage it will eventually cause to your paintwork and the ceiling surface if the steam and moisture are left unchecked.
They also can assist in controlling and removing "bathroom odors". You know what I mean. The ones you deny any knowledge of. Apart from being somewhat unpleasant, they may also contain microscopic levels of bacteria. You can always use one of the readily available "sprays" but they do nothing more than mask the smell.
Benefits Of Having A Bathroom Exhaust Fan
If you ask an electrician if you should have an exhaust fan in your bathroom, he is going to say "Yes, of course, you do". Aside from the fact he wants to take your hard-earned cash, there are benefits to having one.
Apart from helping remove nasty smells from your bathroom, consider these five other benefits exhaust fans give you.
1. Much-improved quality of air
Bathroom fans vent any humidity and dampness trapped in the room which could lead to mold and mildew that could prompt asthma attacks and breathing problems for family members.
2. Reduce Mold And Mildew
Bathtubs and shower enclosures breed mold and mildew due to the hot, wet and steamy environment they create in your bathroom. This could lead to mold-infested grout lines — the black stuff that you can't get rid of without scrubbing — and mildew in your shower, all of which could spread throughout your house.
3. A Fresher Smell

With less mold, less mildew and fewer airborne matter from your toilet, then the air in your bathroom should smell a little better.
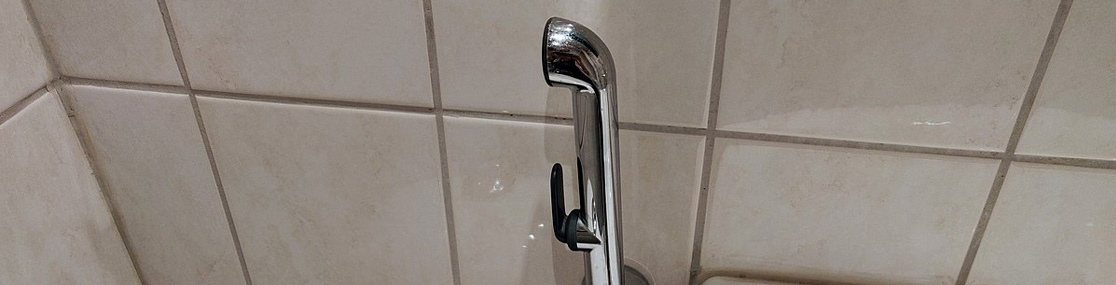
4. Goodbye Foggy Mirrors
Foggy mirrors are great for a Hitchcock movie, but in real life, they can be a real pain-in-the-you-know-what to deal with. Wiping the mirror after a shower leaves streaks, but not wiping it down also leads to streaking. An exhaust fan will go a long way to alleviating the problem.
5. Home Maintenance Costs Are Reduced

Steam, condensation, humidity, and moisture can unleash untold problems on not only your bathroom but your entire home. They are breeding grounds for mold, mildew, bacteria and other unpleasant things and can cause destruction to your drywall, tiling, even your furniture.
These benefits and there are many more, show that having a bathroom exhaust fan installed is a good decision for your home and your family. To find out how to install a new fan or replace a broken one read on.
Is It Difficult To Install A Bathroom Fan?
When it comes to questions like how to install a bathroom fan, there are no quick and easy answers. A lot depends on whether you have one already in the bathroom or toilet and whether or not it works. A bathroom exhaust fan that doesn't work is a bit like having an ashtray on a motorbike — pretty much useless.
I Don't Have A Bathroom Fan. How do I properly install one?

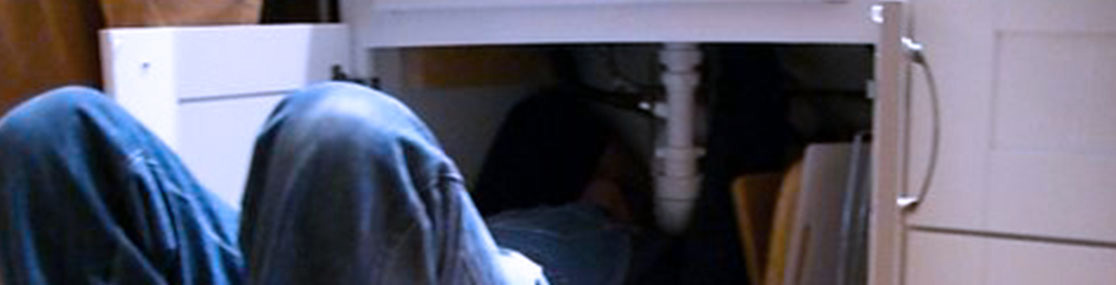
Installing a bathroom exhaust fan is not the easiest of DIY projects. Almost all the work involved will mean standing on a ladder, getting a crick in your neck from looking up at the ceiling, crouching in the attic, probably dripping with sweat, and trying not to get any insulation all over you, never mind the dangers of breathing it in.
Ignoring the facts that you will, no doubt, get a sore neck, spend a lot of time in a hot attic, be going up and down a ladder, you will also have to go on the roof and be brave enough to cut a hole in it. (Best do this job when there's no chance of rain).
Apart from all the physical work, installing a bathroom fan is not all that difficult. It only involves a 120V power source, and one piece of flexible ducting, no more than six feet in length. (The longer the tube is, the less efficient the fan becomes). One thing to keep in mind, however, is that according to many building codes bathroom exhaust fans are not required.
All that is necessary is that a bathroom window is at least three feet square and which opens halfway can be a substitute for exhaust fans in many areas. The International Residential Code explains more about light and ventilation regulations in section R303. Check with your local code enforcement office for clarification.
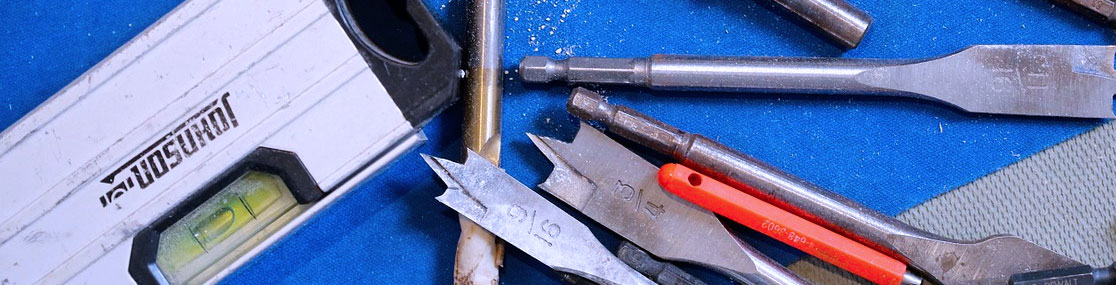
Materials and Tools Required.
- Bathroom Exhaust Fan
- A ladder to access the attic
- Dust Mask or respiratory device
- Drywall saw or reciprocating saw
- 4 inch round flexible ducting
- Cordless drill
- 1/2 inch drill bit
- Stud finder
- Voltage tester (Touchless)
- Screws
- Electrical cable
- Wire stripper
- Round wall vent or roof vent with cap. The type depends on if you are going to vent through a side wall or roof.
- Exterior grade caulk or roofing cement
Before You Start Work.

There are a couple of things which often concern DIYers taking on this type of project. Power supply and venting. How do I get power to the fan? What about venting the exhaust? How do I get the warm, moist air out of the attic?
Since the majority of residential bathroom fans use 120v electrical lines, finding live electrical cables near your chosen position should not prove problematic.
Venting is the method used to get the stale, damp air out of the house after it is drawn into the fan. It is blown via a connected flexible duct either through a hole in the side of the house or as is more common, up and out through the roof.
A New Bathroom Fan Installation.
Since this is a new installation, not a replacement, your bathroom will not have any ducting in the attic area. However, all you need is access to the attic area above the bathroom ceiling to be able to route the flexible ductwork outside.
1. Find the correct CFM rating for your bathroom.
The first thing you need to do when installing a new bathroom exhaust fan is to find out the CFM rating for the room so you can buy the correct fan strength.
- CFM stands for "cubic feet per minute" and states how much air the fan can move per minute. Small bathrooms require low CFM fans, and larger ones may require a much higher CFM rating.
- To calculate the correct CFM for your bathroom you need to work out the room's cubic footage. Multiply the length of your bathroom by the width and then by the height. If your bathroom measures 10ft x 12ft and the ceiling are 8ft height, then the answer will be 960. Divide this number by 7.5 to get a CFM rating of 128.
- You should buy a fan with a CFM rating of at least this number.
2. Give a thought to the noise the fan will make.
The next thing to contemplate is the sound rating of a new fan. This is measured in sones.
- New bathroom exhaust fans usually have a sound rating anywhere between 0.5 and 6.0, where .05 is very quiet and 6 very loud.
- The sound level of your new fan is a personal preference. You may want a quiet fan or you may want the privacy louder fans to offer so that it will drown out your singing when you're in the shower. It is entirely up to you.
- The sone rating, like the CFM, is printed on the box of your new fan.
3. Find your power source.
The fan will be installed in the ceiling of your bathroom, so you need to get power to the point where it is to be situated. You may be able to tap into the circuit for the bathroom lights — check your local codes to see if this is allowed.
4. Choose the right location for the fan.
The fan's location is important. It should be installed midway between your shower/tub and toilet to ensure the best ventilation.
- Installing a new fan means considering the layout of your attic where the majority of the fan assembly unit will be located. It needs to be placed in the space between two joists free from any obstacles like pipes or cables.
5. Get all your tools together.
With a little knowledge of basic electrical and woodworking skills, the installation of a bathroom fan is well within your capabilities. Before you get started it is wise to have all the tools and materials needed for the project readily accessible.
- From the list provided above, have the tools all within easy reach in the bathroom, since that is where you will start. Items like the ducting, dust mask, vent cap, and a reciprocating saw can be left near the attic hatch until you are ready to go into the attic.
6. Installing the fan.
- The fan will come with instructions for the installation. Read them carefully before you begin.
- With the position of the fan-selected, use a stud finder to locate the ceiling joists. If the chosen location happens to be in line with a joist, then you will have to move the location slightly to avoid hitting them.
- If your fan comes supplied with an installation template, use that to mark where the holes need to be. If not, then trace around the fan housing with a pencil, then using a drywall saw, cut along the lines carefully and remove the piece of ceiling drywall.
- Go up into the attic, taking the fan housing, a light, cordless drill, screws and electrical cable.
- Place the fan housing in the hole you have cut in the bathroom ceiling so that the bottom is flush with the ceiling. You will need help with this step since you can't see the underside of the ceiling.
- If you can, screw the fan to the side of a joist to secure it. If not, then if the fan came with suspension brackets, use them. You can always purchase the brackets separately if the fan doesn't come supplied with them.
- Since you are in the attic, fit the cable through the side of the fan housing, leaving approximately 7 - 10 inches extending into the housing.
- With the power off to the bathroom circuit, locate the junction box which supplies the lights to the bathroom, and removes the cover.
- Remove the wire nuts to expose the colored wires, and splice in the new wiring from the cable you have fed into the fan housing. If necessary, knock out one of the spark plugs in the box to allow you to feed the cable through.
- At this point, you will have to strip the ends of electrical wires to allow you to make the connection using a good wire stripper.
- Twist the new wiring to the existing and put wire nuts over each pair of wires, making sure the colors match (red to red, white to white, black to black, etc.)
- Make sure all the wires are secured to each other before replacing the junction box cover.
- Use the screws that held the junction box in place to the joist to prevent any movement.
7. Cutting a hole in the roof.
It's crunch time. You now have to cut a hole through the roof to allow the roof vent and tailpipe to go through.
Before you leave the attic to go up on the roof, drill a small hole through the roof as close to the position where the fan is going to be, if possible, vertically above the fan housing. Push a piece of wire through the hole to show you where the cut-out for the vent cap needs to be.
NOTE: You will spend a good deal of time working on your roof when you install an exhaust fan, so you need to exercise caution when climbing onto the roof, and while you are actually working there.
- Locate the wire sticking up through the roof and put the vent tailpipe over it.
- Trace around the vent tailpipe, just large enough for the pipe to fit.
- Drill a hole large enough for the saw blade, then using a reciprocating saw, or keyhole saw, cut out the circle.
- Remove the shingles from around the hole without causing damage to the underlying roof membrane.
- Install the roof vent by sliding the topmost flange under the shingles above it and placing the bottom flange on top of the lower shingles.
- Secure the vent flanges with roofing nails before replacing any shingles, working from the bottom up and sealing the shingle joints with roofing cement.
8. Connecting the fan to the ducting and power.
- Go back inside the attic and connect the flexible ducting to both the roof vent and the fan, slipping clamps over both ends and tightening them to secure it. Wrap the joints with duct tape.
- Following the instructions supplied with the fan, run the cable to the fan and also to the switch. You can drop the new cable down the wall cavity to the existing light switch for ease of installation.
- If you are installing a fan with a light, you will need to use a three-wire cable from the switch to the fan, following the diagram included in the fan's installation instructions.
- Connect the wiring as per the instructions and when completed, plug the fan motor into the built-in receptacle.
- Attach the fan grille to the housing. Turn the circuit breaker back on, return to the bathroom and test the fan by turning on the switch.
If everything has gone according to plan, you should now have a fully working bathroom exhaust fan. If something is wrong and the fan isn't running, you need to go back and check your work. Are the electrical connections correct and secure? A loose wire somewhere perhaps? The simplest of things are often found to be the problem, but in the end, you will be satisfied with a job well done.
This video will show you how to install a bathroom exhaust fan if you need visual tips on the procedures.
How To Install A Replacement Fan

If you have an existing fan in your bathroom which either doesn't work or is not working properly, then a replacement fan assembly is your answer. First, remove the fan's grille to find out what size of the fan is installed. Measure the internal dimensions of the housing so that you can purchase a fan of the same dimensions.
A lot of fans have the make and model on the grille face or somewhere inside the housing. If you can get this information, you may be able to buy a direct replacement.
1. Remove The Old Fan's Cover.
The cover is the part of the fan you see on the bathroom ceiling. Some will be held in place by screws, but more often than not, they are secured by two spring clips. Pull the cover down until the clips are visible and squeeze them until they are released, exposing the fan housing and motor assembly.
2. Disconnect the fan's power.
With the cover removed, disconnect the fan's power lead. If you see wires coming from the ceiling to plastic connectors, then STOP. Go to your breaker box and find the one marked for the bathroom fan or all the power to the bathroom.
3. Test the power is off.
Using a non-contact voltage tester, a test that there is no power in the fan's wiring. If the tester shows all power is off, then it is safe to proceed. Disconnect the power lead from the built-in socket or remove the plastic connectors and untwist the wires.
4. Removing The Fan Assembly Unit.
The fan motor assembly may be secured with screws, or the whole motor unit might have clips on two sides keeping it in place. Either way, remove the motor assembly, leaving the fan housing attached to the ceiling joists. If, on the other hand, there is no way to remove just the motor unit, you will need to remove the whole fan unit, housing, and the vent pipe.
5. Disconnecting the fan, the difficult way.
Assuming the motor unit and fan assembly won't come out as described above, then you will have to do it the hard way. This means getting into your attic, finding the vent pipe and detaching it from the fan housing, and removing the screws that hold it in place.
- Put a piece of plywood or some other sturdy material across the joists to support you.
- With the power turned off, disconnect the wiring to the fan from the junction box.
- Get someone to help you by holding the housing while you remove the fasteners.
- Once the fasteners have been removed, pull the complete fan housing out of the ceiling.
6. Install the new fan.
If the new fan you have just purchased has the same dimensions and connections like the one you removed, then you can simply reverse the procedures, inserting the housing into the ceiling, connecting the vent pipe, securing it in place, reconnecting the wiring and restoring power at the breaker box.
If luck isn't with you, and you had to buy an exhaust with slightly different dimensions, then you will have to adjust the ceiling hole accordingly. If the new fan has a larger housing than before, trace the outline of the housing on the ceiling and enlarge the hole. Smaller housings can also be installed but you will have to patch the drywall to fill any gaps left in the ceiling drywall.
7. Making connections.
- Looking on the bright side, the vent pipe may have just enough slack on it to allow you to connect the pipe to the housing duct connector before you push the housing up into the ceiling. If not, then it's back up into the attic.
- Attach the new fan's housing to the ceiling joists. Read the instructions provided with the fan to see which method is needed to secure it.
- Some fans can be screwed from the bottom into the joists. Others may have brackets only accessible from the attic.
- Connect the electrical wires from the fan housing to the corresponding color-coded wires in your attic that powered your old fan. Make sure you join the correct wires, white to white, black to black, etc. securing them with wire nuts.
- Once all connections have been made, it's time to test the fan. Flip the breaker back on. Turn on the fan's switch and listen for any loud or unexpected sounds. If you hear anything other than the fan running, or if it doesn't run at all, kill the power and check your work.
- If everything sounds and looks okay, then switch the fan off and put the grille on.
Congratulations. You've replaced a useless fan with a functional exhaust fan, which will remove all the steam, condensation and whatever from your bathroom.
With all the information provided above on how to install a brand new exhaust fan in your bathroom, or replacing an existing, outdated or broken fan, you should be able to tackle this DIY project with confidence, knowing that you can get it done.
It may take a little time to get all the tasks completed, but in the end, when you are celebrating with your favorite cocktail or long neck, you can say to yourself — "I did it, and I saved myself a lot of money."
The average cost to have a bathroom exhaust fan installed can be anywhere from $200 to $600 depending on your location. Now that's worth thinking about.